

Spot UV Varnish
Spot UV varnish is a popular finishing option when you want to add visual impact without overpowering the overall design. By applying a high-gloss varnish to selected areas, such as logos or key text, spot UV creates contrast and subtle texture while introducing a premium look. The result is a professional finish that helps printed materials stand out in a refined and controlled way.
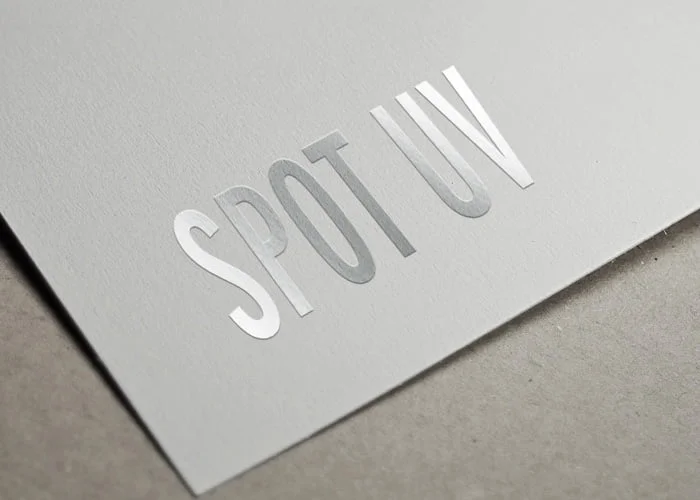
What is Spot UV?
Spot UV printing, also referred to as spot varnish or spot gloss, is a finishing technique that applies a clear varnish to selected areas of a printed sheet. This creates a contrast in texture between a matte surface and a high-shine gloss. While the effect can be produced in matte over a gloss background, it is more commonly applied as gloss over a matte surface to maximise visual contrast.
Gloss spot UV enhances the appearance of printed colours, adding depth and a subtle raised effect that catches the light. It is frequently used to highlight logos, selected imagery, or key text, though it can be applied creatively across a wide range of printed materials.
Gloss spot UV enhances the appearance of printed colours, adding depth and a subtle raised effect that catches the light. It is frequently used to highlight logos, selected imagery, or key text, though it can be applied creatively across a wide range of printed materials.
Blind Spot UV
Blind spot UV is a refined finishing option that creates a subtle yet striking effect. With this technique, clear UV varnish is applied to a plain area with no printed image beneath it. As the piece is tilted in the light, the glossed area appears and disappears, creating an understated but eye-catching result.
Text or patterns can also be enhanced using blind spot UV, such as repeating a company name or graphic across the surface to add depth without introducing additional colour. Applying gloss spot UV over matte lamination increases contrast and impact, while soft touch, sometimes referred to as velvet lamination, adds a smooth, premium feel.
For best results, spot UV is typically applied to laminated stocks, as unlaminated paper may not achieve the same high-gloss definition.
Text or patterns can also be enhanced using blind spot UV, such as repeating a company name or graphic across the surface to add depth without introducing additional colour. Applying gloss spot UV over matte lamination increases contrast and impact, while soft touch, sometimes referred to as velvet lamination, adds a smooth, premium feel.
For best results, spot UV is typically applied to laminated stocks, as unlaminated paper may not achieve the same high-gloss definition.
How is Spot UV Applied
The process of applying spot UV involves printing and laminating the sheet, followed by placing a template over it and feeding it into a machine where a durable clear liquid polymer is applied. After the application, the sheet is instantly dried under infra-red and UV lamps, giving it the term “spot UV.”
Setting Up Artwork
Artwork is supplied in the usual way with the spot UV area supplied as a separate file. This file should contain only the UV area and nothing else.
- Create an extra layer in your design tab and entitle it spot UV.
- Select a clashing colour, e.g. 100% magenta and save it as spot UV.
- In the first layers of your file copy the areas which will have spot UV and paste this on your new Spot UV layer in exactly the same position.
- The spot UV layer should now be coloured magenta.

Select The Spot UV Areas Carefully
To create effective contrast and draw attention to key elements, spot UV should be used selectively. Applying it to too many areas can reduce the overall impact and lessen the visual contrast it is designed to create.
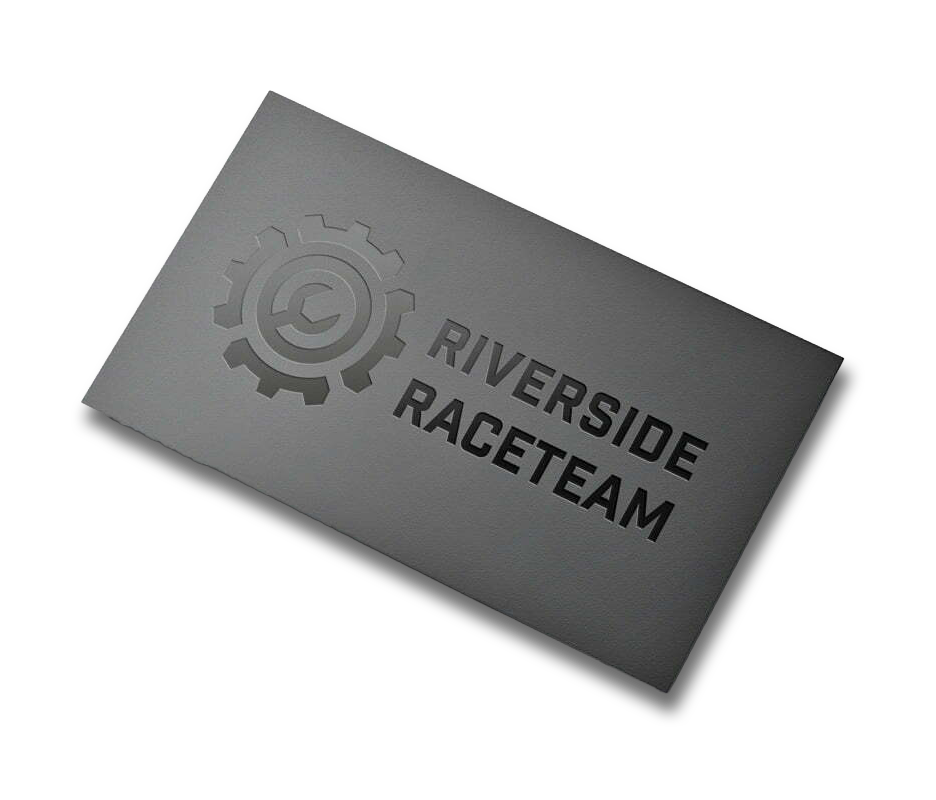
On printed cards, it is common to apply spot UV to a logo or focal design feature. A plain reverse can also be enhanced with blind UV, using text or a subtle pattern to introduce interest without adding extra colour.
On printed cards, it is common to apply spot UV to a logo or focal design feature. A plain reverse can also be enhanced with blind UV, using text or a subtle pattern to introduce interest without adding extra colour.
Think about the finishing process of your item.
To prevent cracking and flaking of the varnish, it’s important to avoid adding spot UV near folds or trimmed areas as the varnish requires a consistent surface tension. The minimum recommended distance to place the spot UV is 3mm.
Ready to Add Spot UV to Your Print?
Spot UV varnish is an effective way to highlight key elements such as logos, names, or taglines, adding contrast and subtle texture to your design.
If you are unsure whether spot UV is suitable for your project or would like advice on artwork setup and stock selection, our team is happy to help. Get in touch for guidance or a quotation and we will help you achieve the best possible finish.
If you are unsure whether spot UV is suitable for your project or would like advice on artwork setup and stock selection, our team is happy to help. Get in touch for guidance or a quotation and we will help you achieve the best possible finish.